Whether you’re photographing your house yourself or hiring a photographer, it can be bamboozling on the day to think about what the photography needs to include. As with any photography, before a camera is even picked up, the magic is in the planning which includes knowing what information you need to capture in each shot.
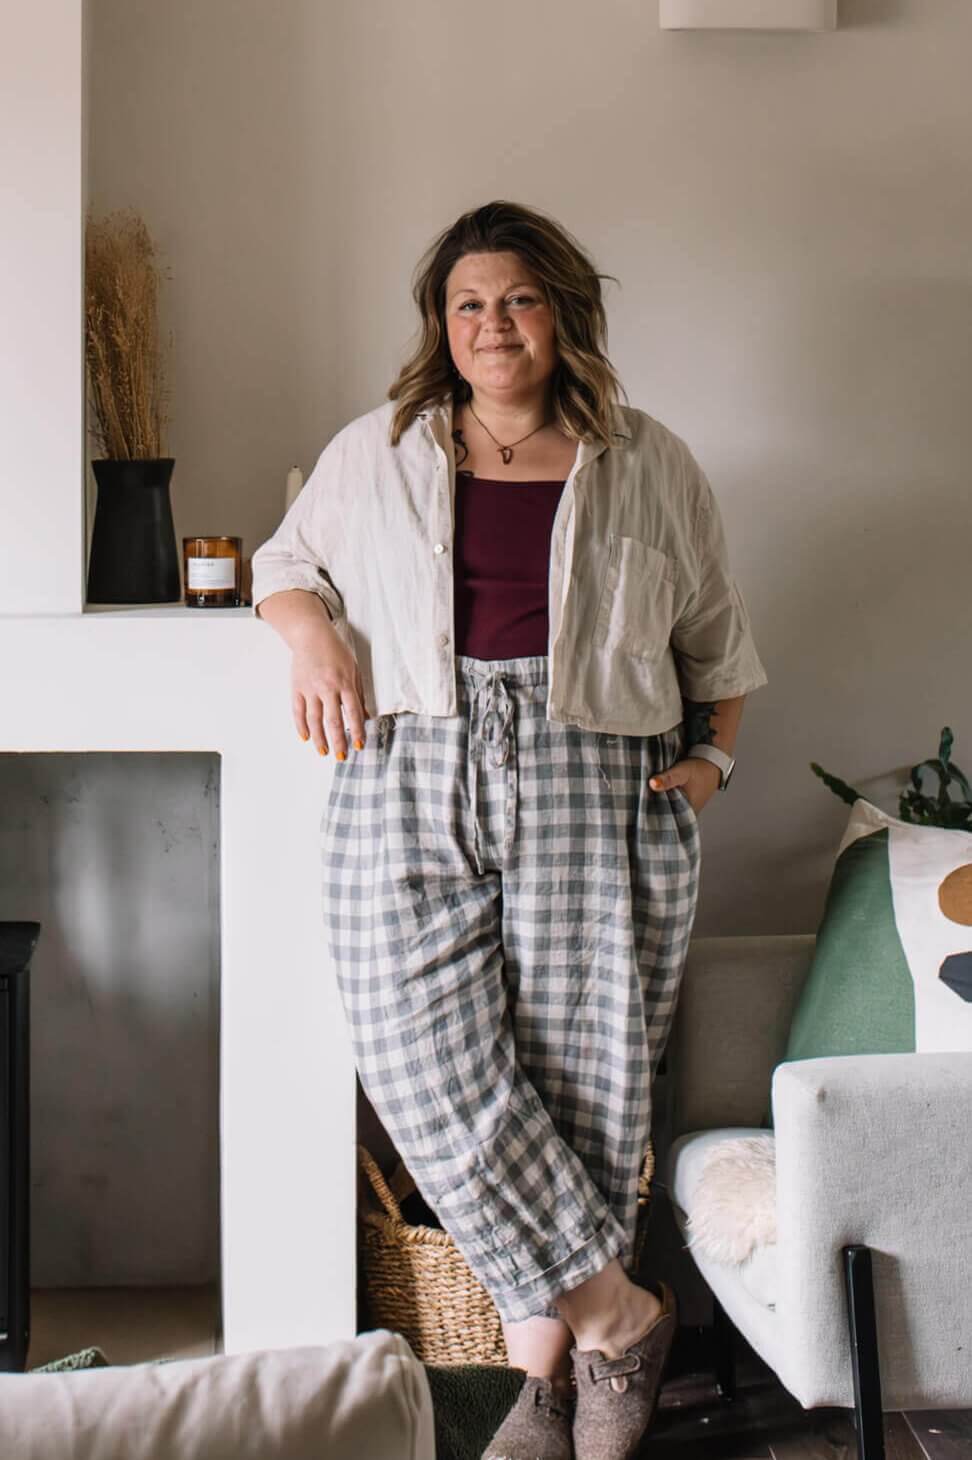
I’m a professional photographer who has been shooting in location houses for over ten years, working for many well known lifestyle brands and publications. Prior to that I was the person scouting locations in my role as a magazine picture editor. For the past 5 years I’ve been working with home owners, capturing their homes to help them get on the books of location agencies such as Styled Home Studios. Using my wealth of knowledge, here are some guidelines for you to consider when commissioning or taking your location house photos.
Make it clear what your space looks like with a selection of wider photos
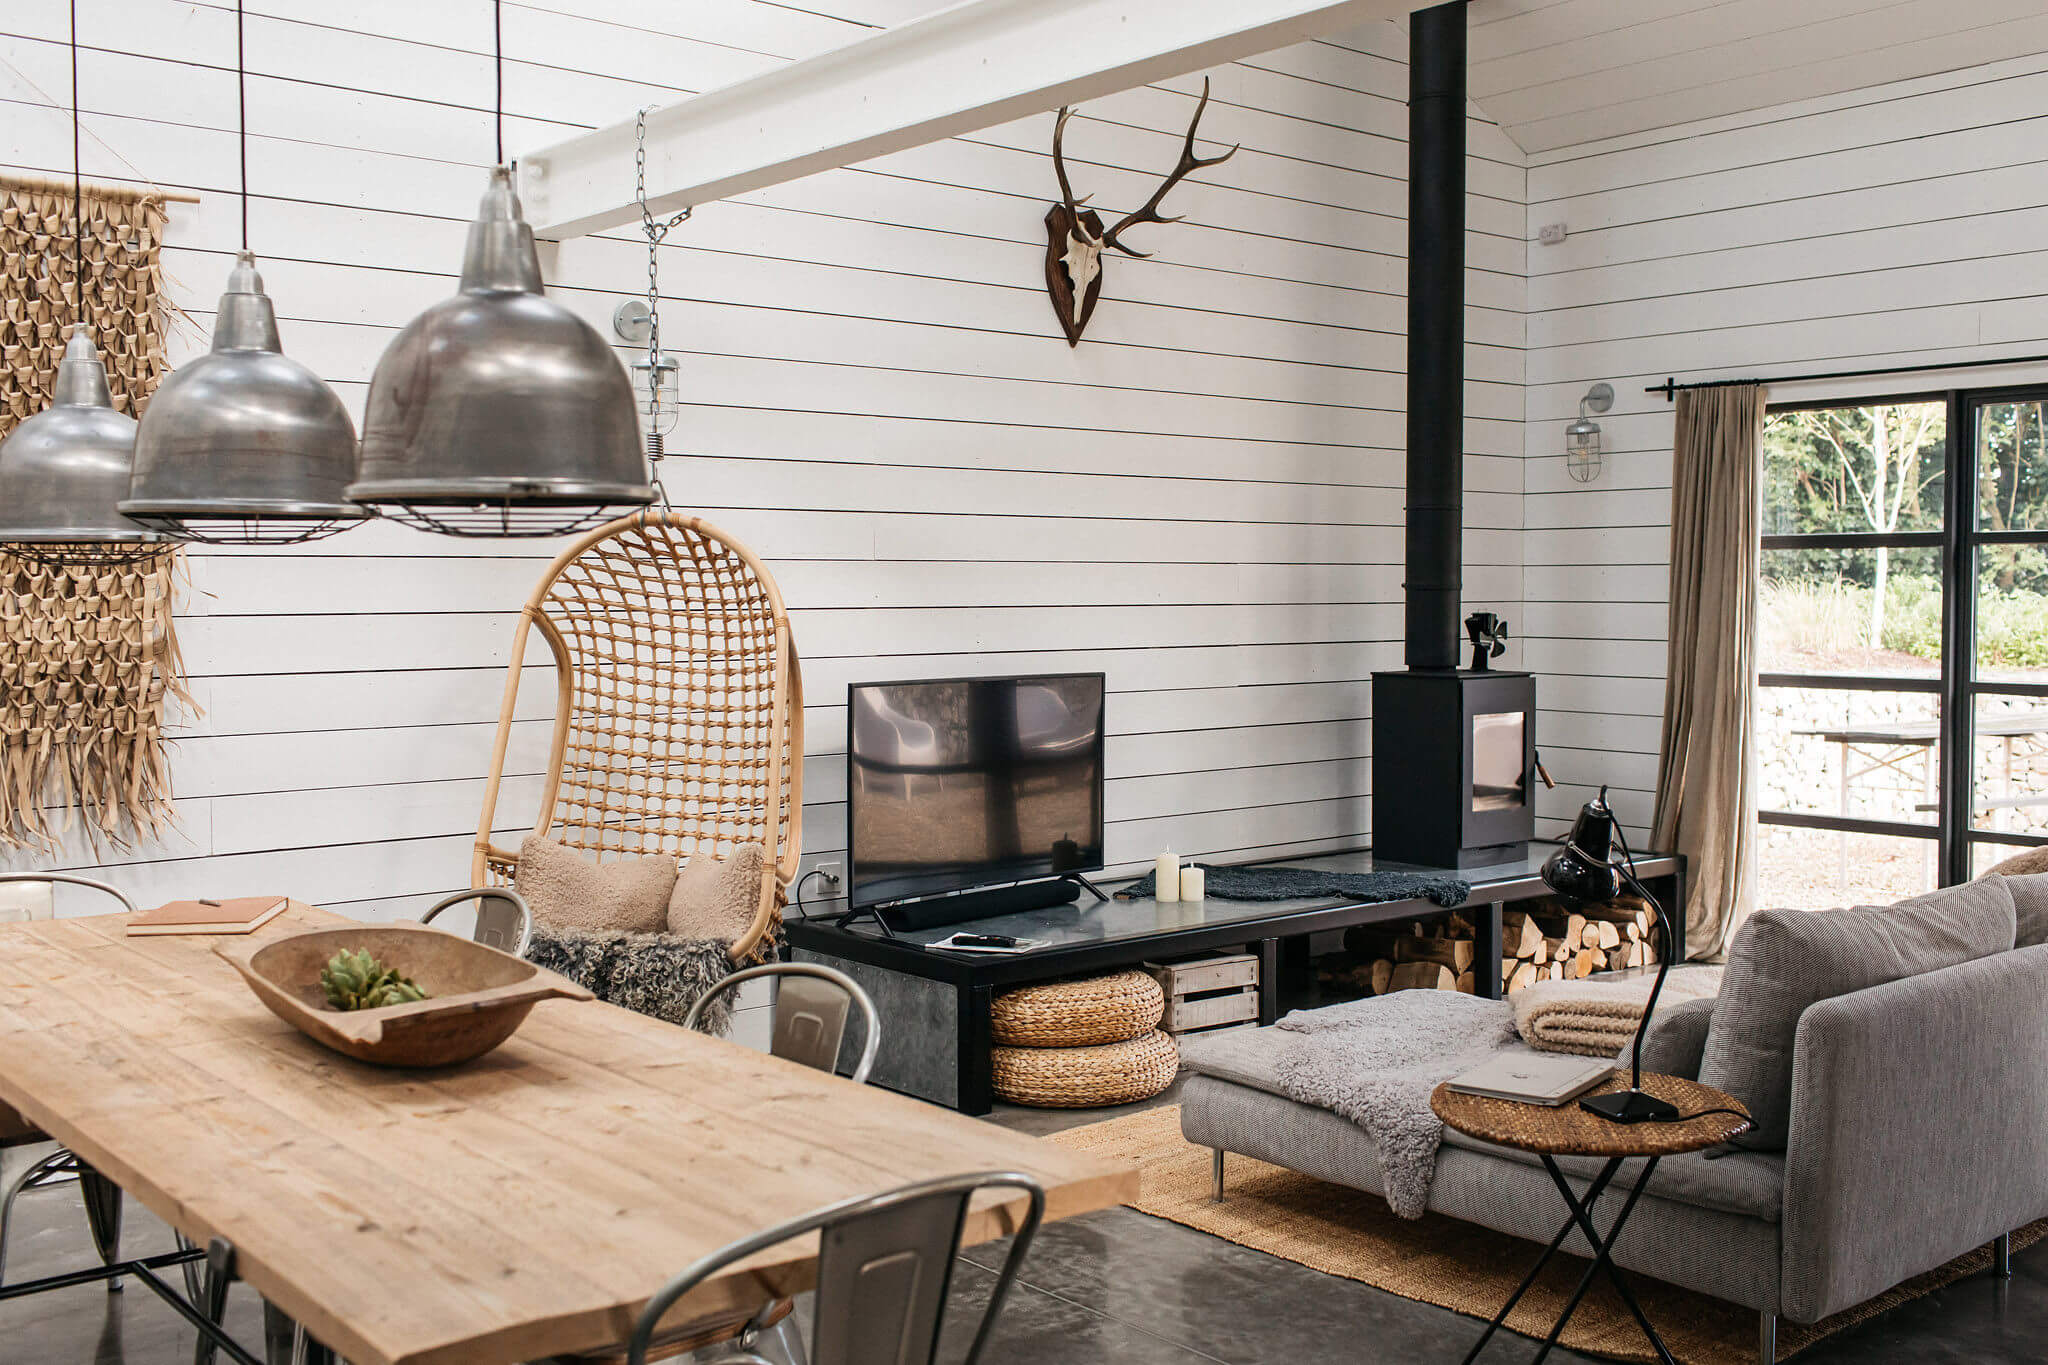
While we’ll get into tighter, more editorial shots of your house, it’s really important to include some wider shots of your space. Photo teams will be wanting to consider how far back they can get for framing and where they can stack props/products in relation to where they are shooting. There also may be models on set and getting a sense as to where wardrobe, make up artists and stylists can set up is incredibly useful.
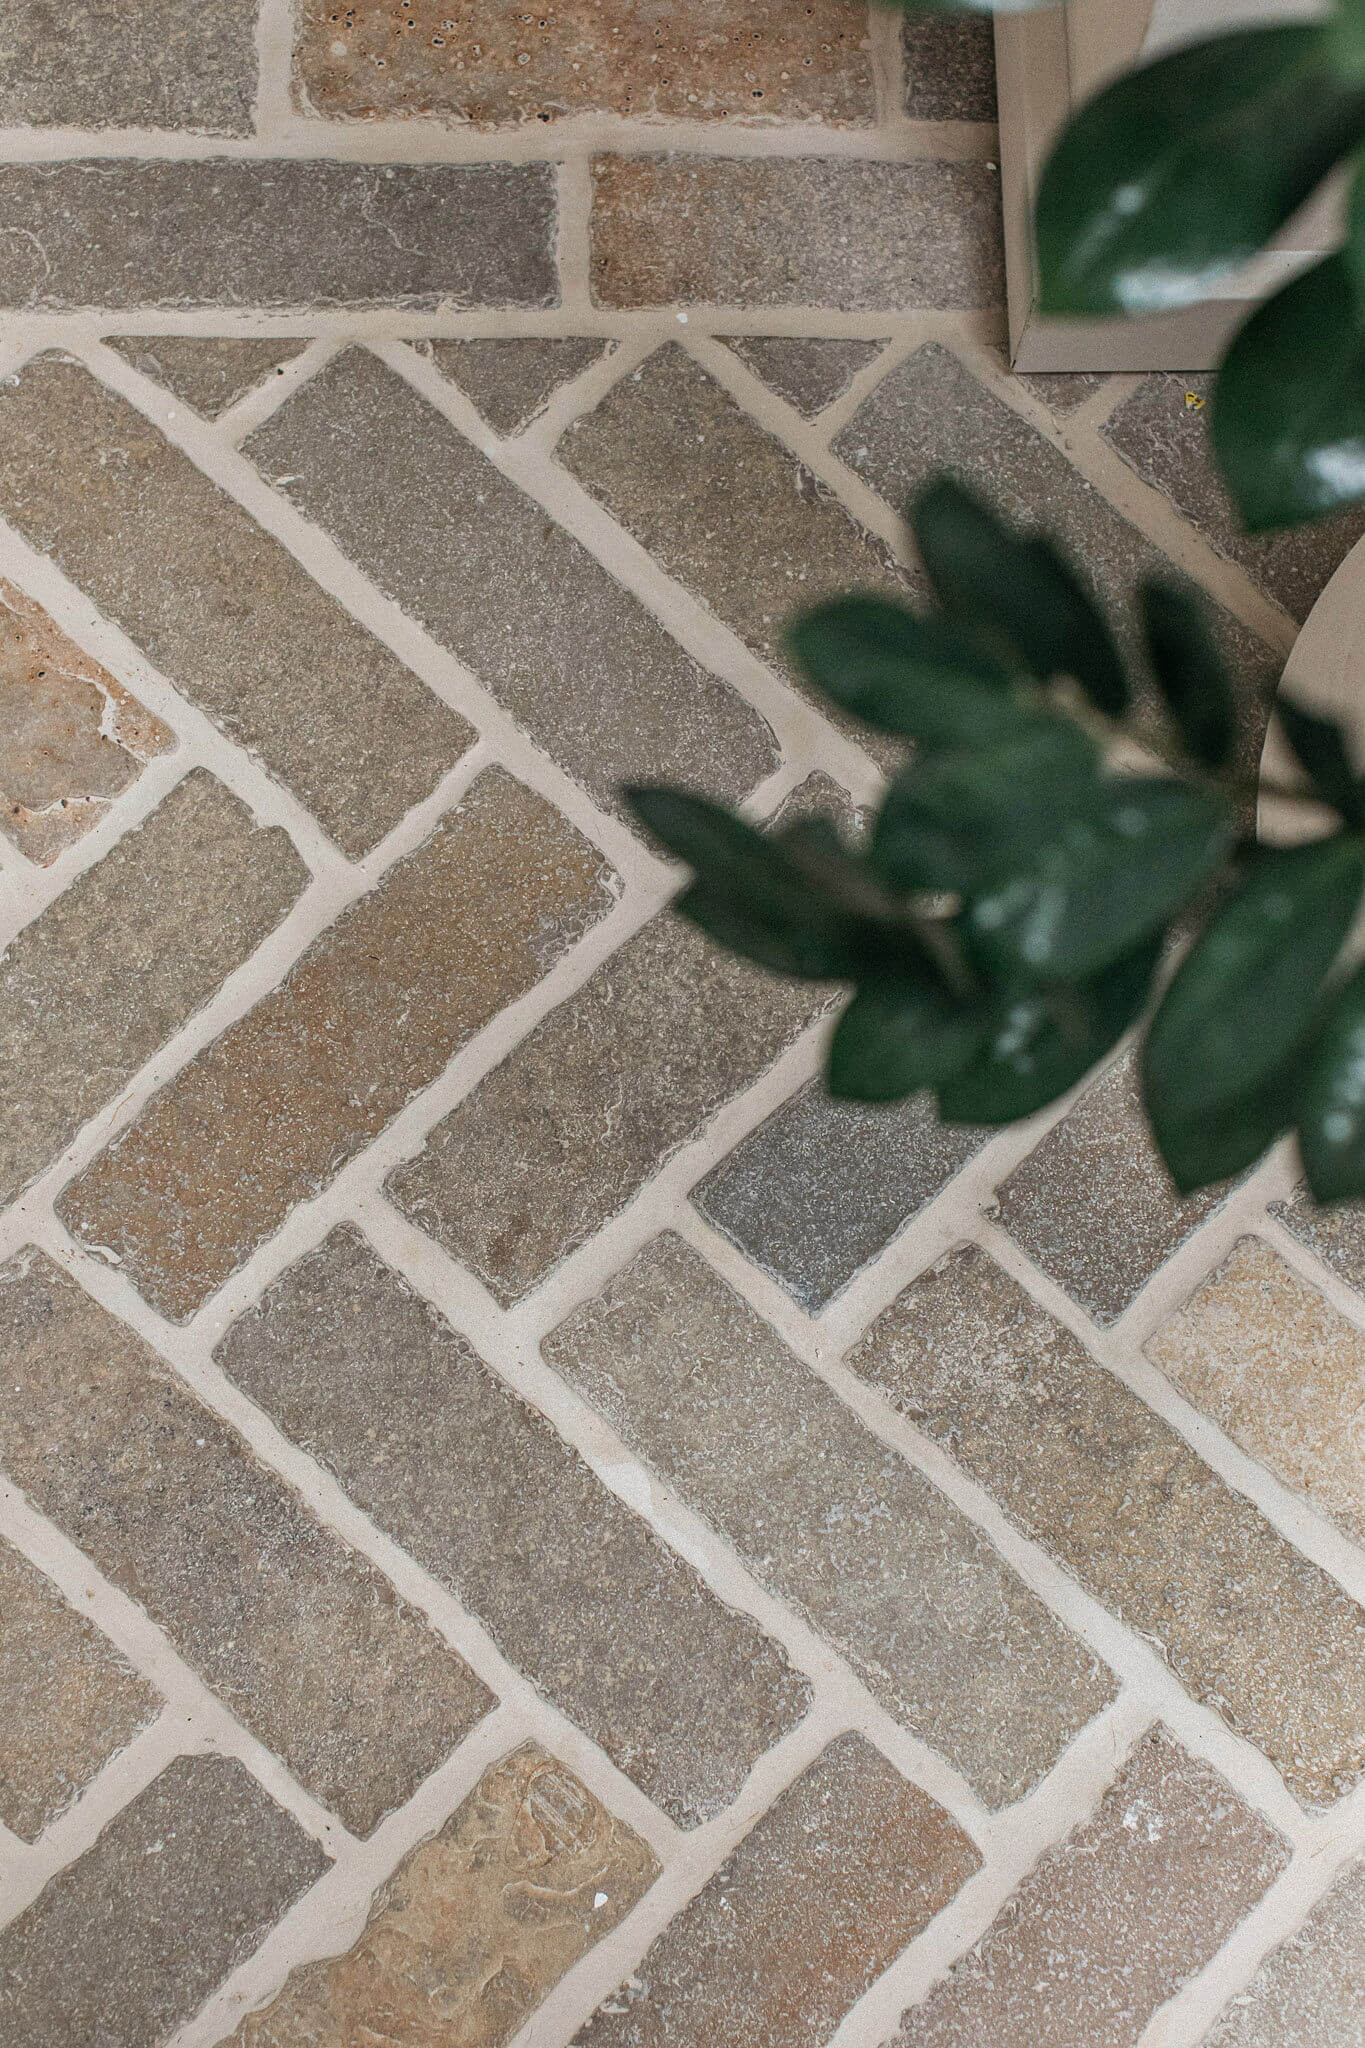
Make sure your wide shots include images of your floors – in my experience hard floors are an advantage as they are more versatile and it’s useful to show off these textures as it could be really important to the potential client. An interior lifestyle company may have rugs in the collection they’d like to shoot or maybe it’s really important to a brand to have stone floors so they are able to shoot some flatlay images between lifestyle shots. You never know which surfaces might be just the thing someone is looking for in their shoot.
Think about which corners are especially shoot worthy
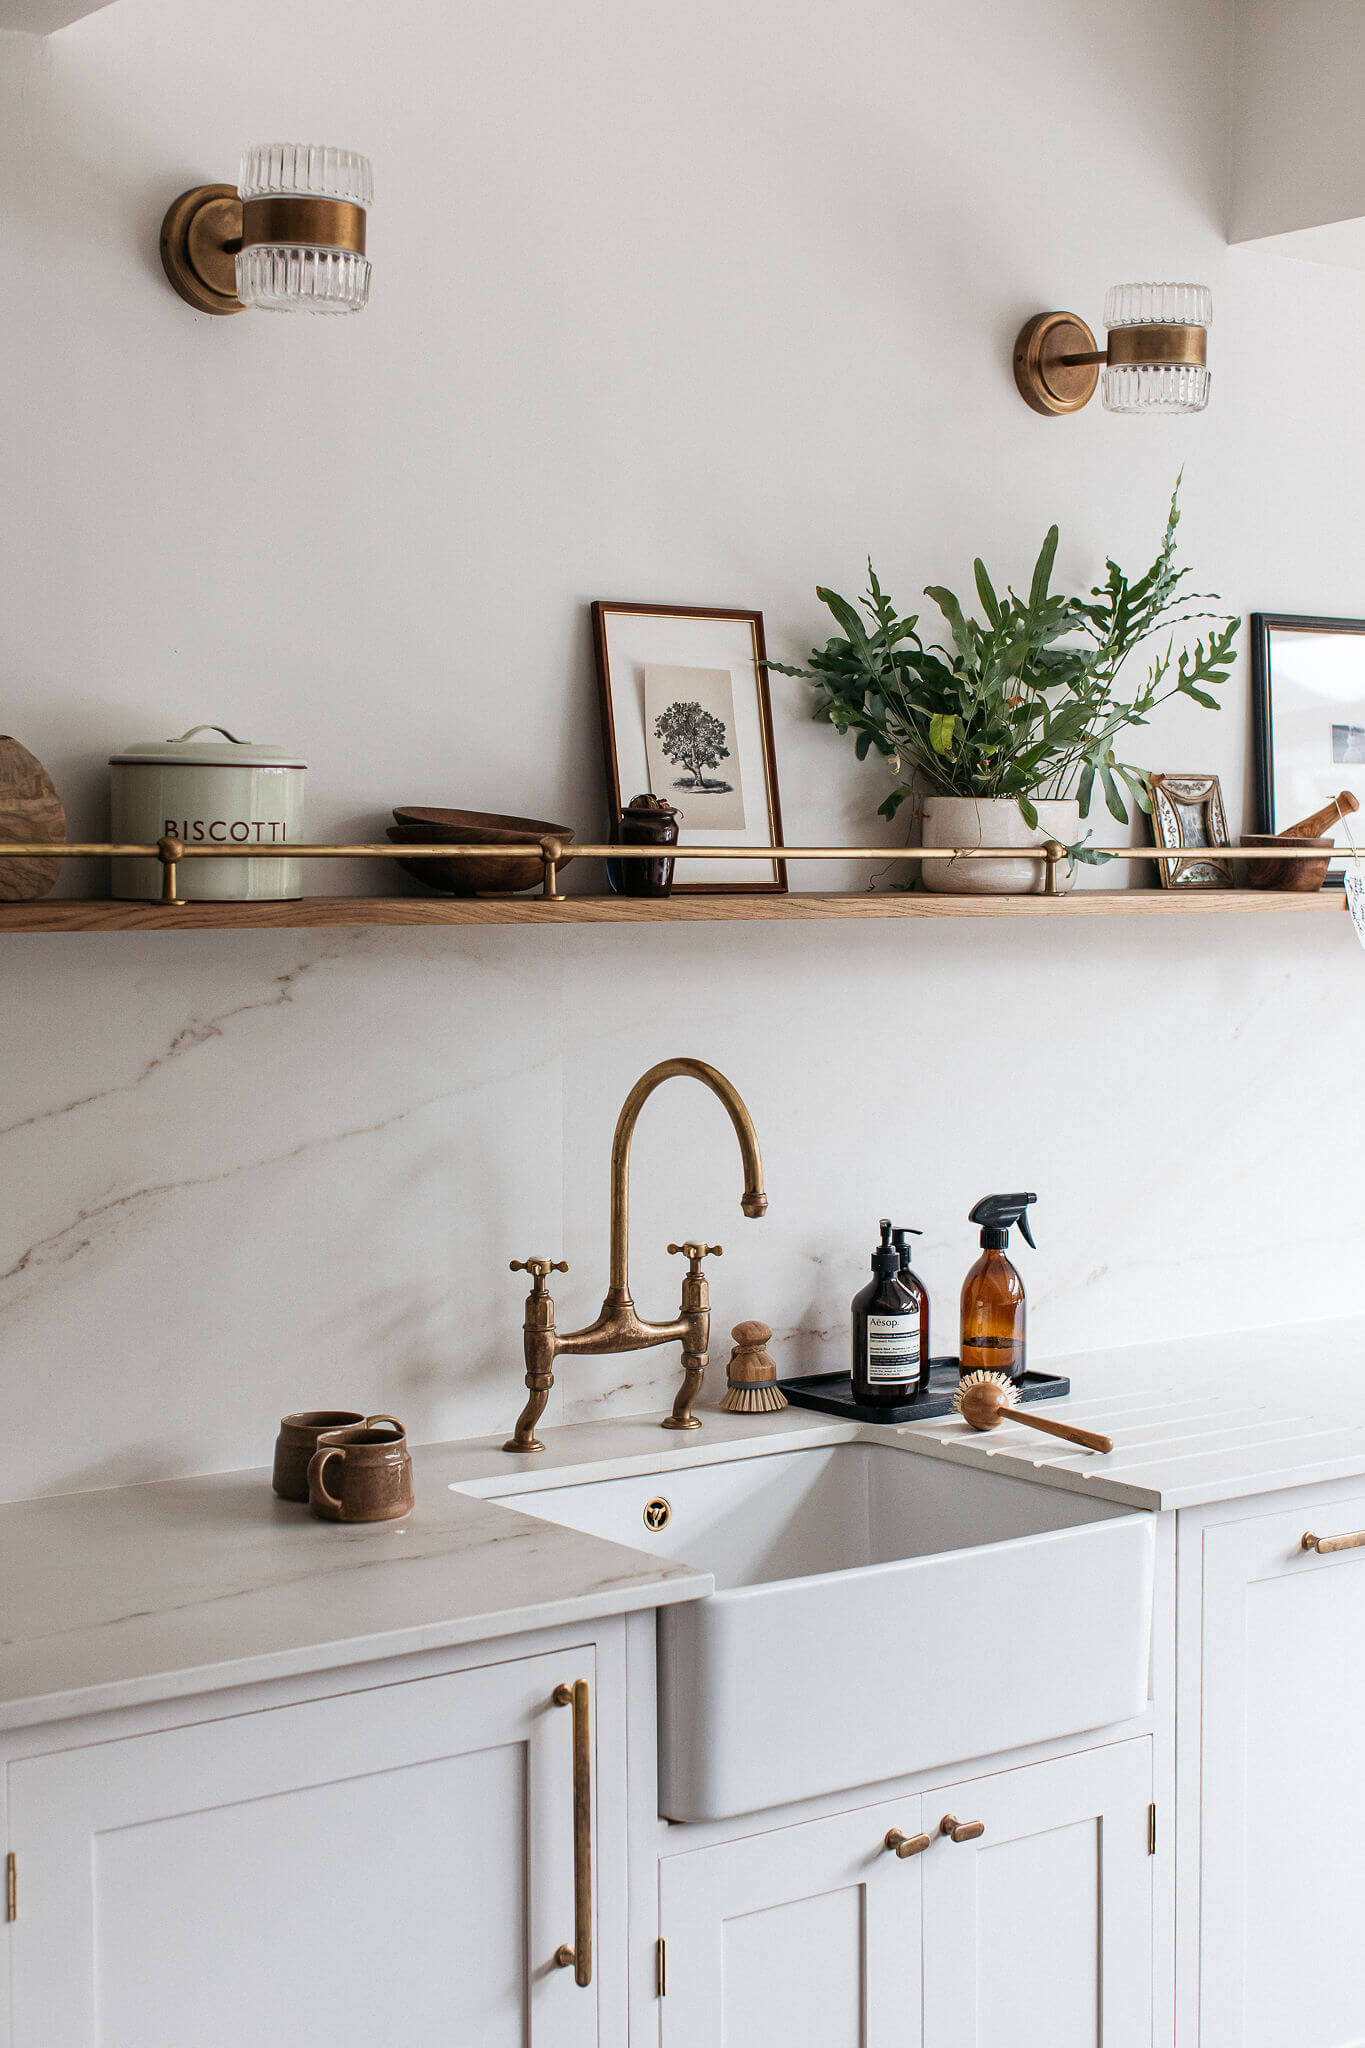
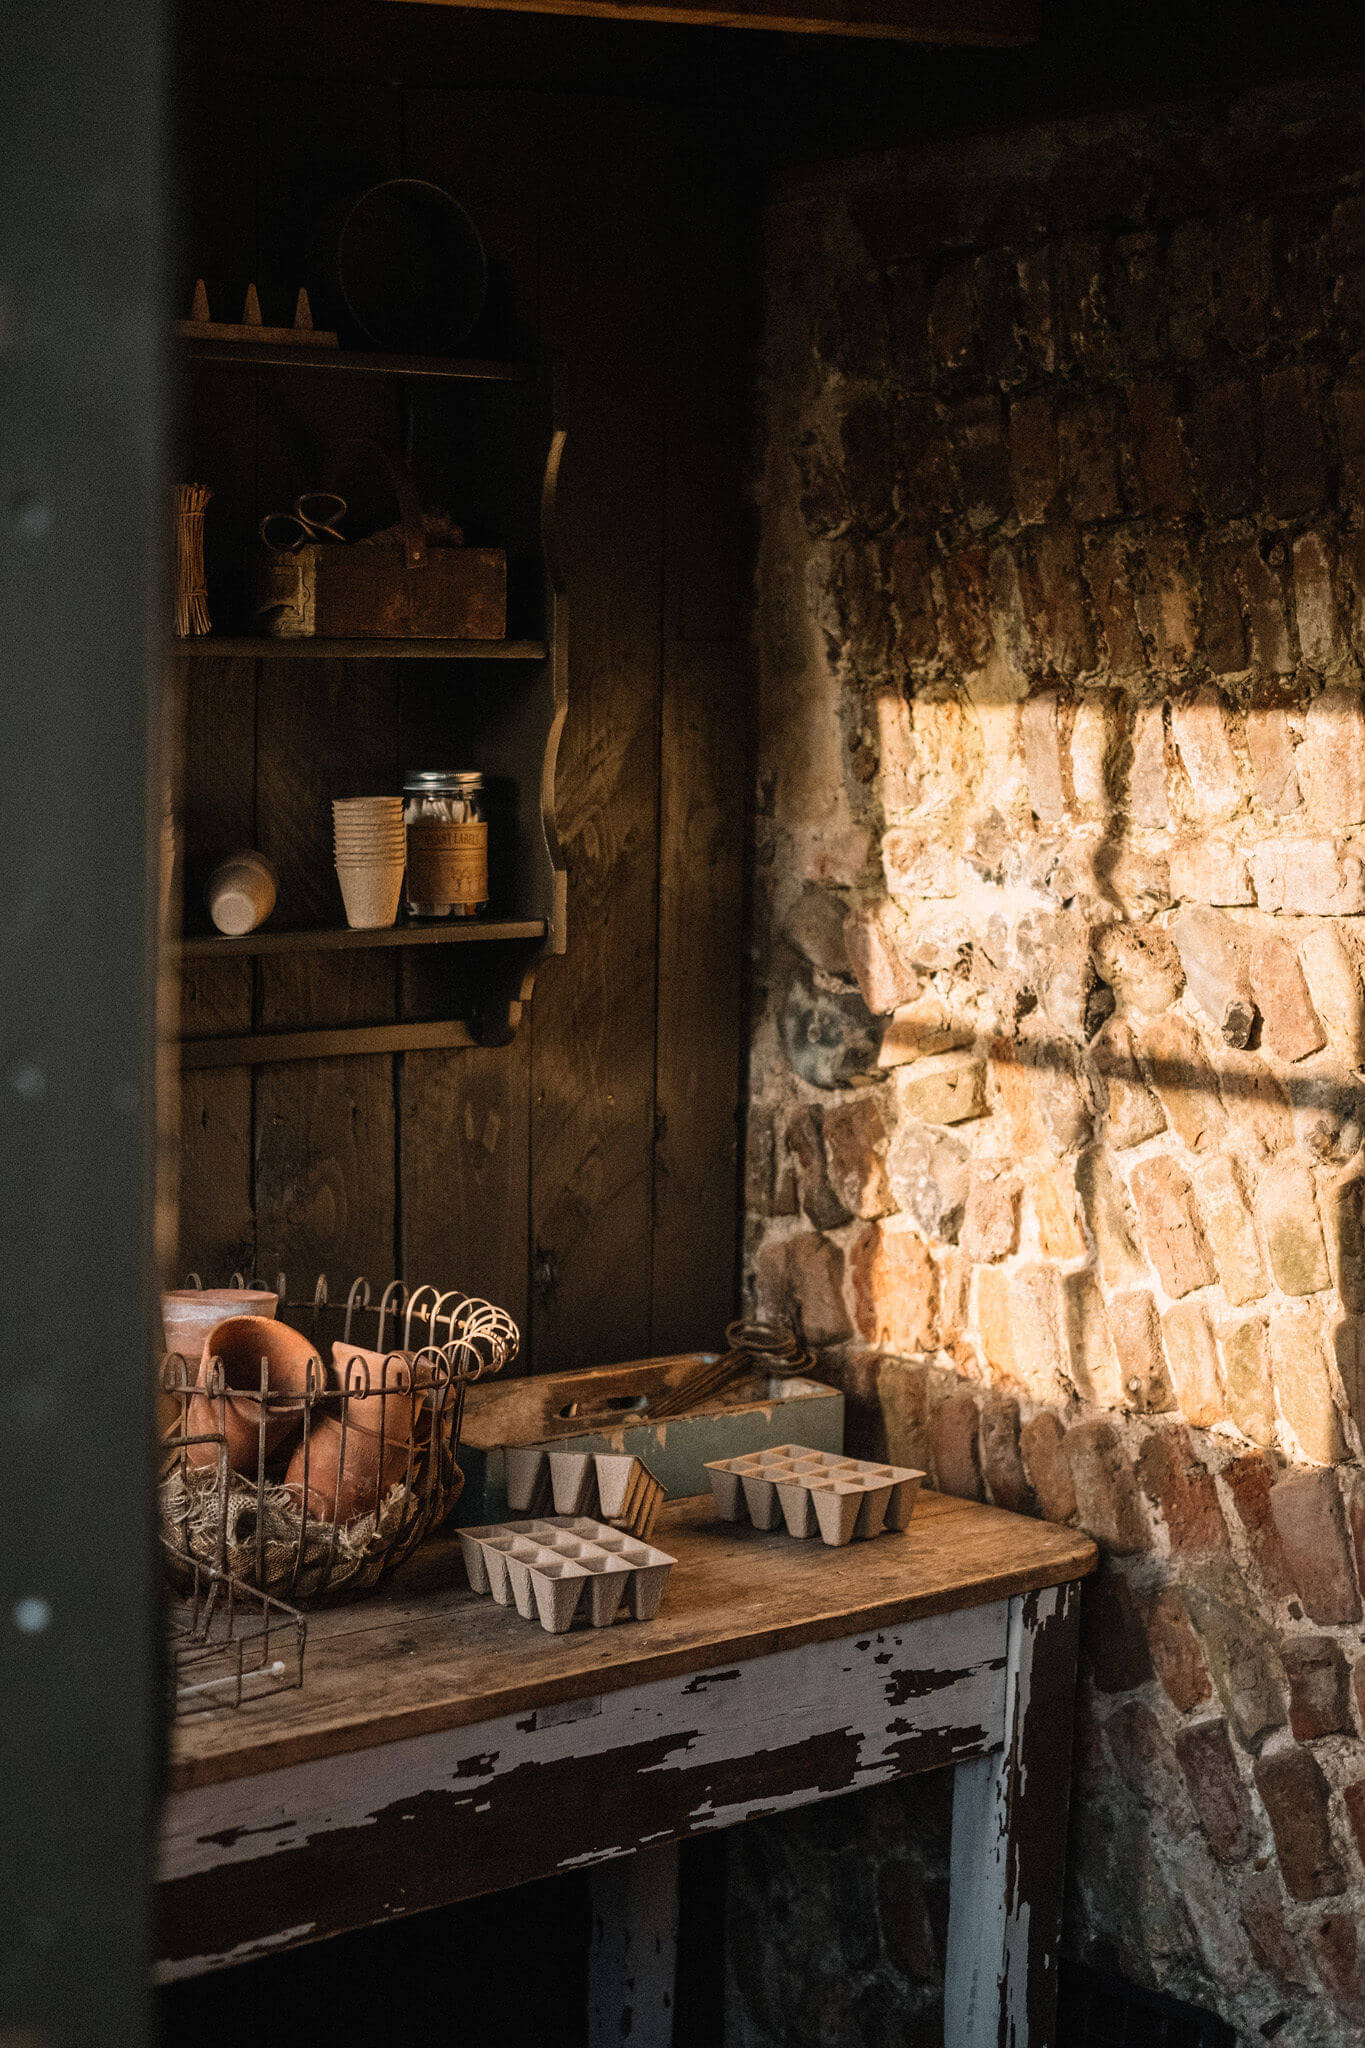
Shelving units, window ledges, beautiful sinks, pantries, laundry cupboards, potting sheds, boot rooms, impressive fireplaces – these spaces might be just the thing that cinches the deal. I’ve worked with a floor company who are generally looking for range cookers and large kitchens so they are able to get wide angles of their hard wearing vinyl flooring. Or maybe it’s a lifestyle brand that are solely looking to shoot things like candles and diffusers in gorgeous corners of your home. Perhaps it’s a supplement brand that want to shoot models acting out a morning routine in your bright kitchen. Or a publishing company wanting to shoot a cookbook where they need a beautiful kitchen with marble worktops and a large dining table to shoot feasts. Or even an eco friendly cleaning brand that want to stack their products under your sink or on a shelf in your utility room. It’s important to show off the versatility of your space by having a number of well framed photographs that can be used for different shoot purposes.
Good sized bathrooms with an abundance of natural light are like gold dust – if you have this in your space make sure it’s well documented!
Show off textures
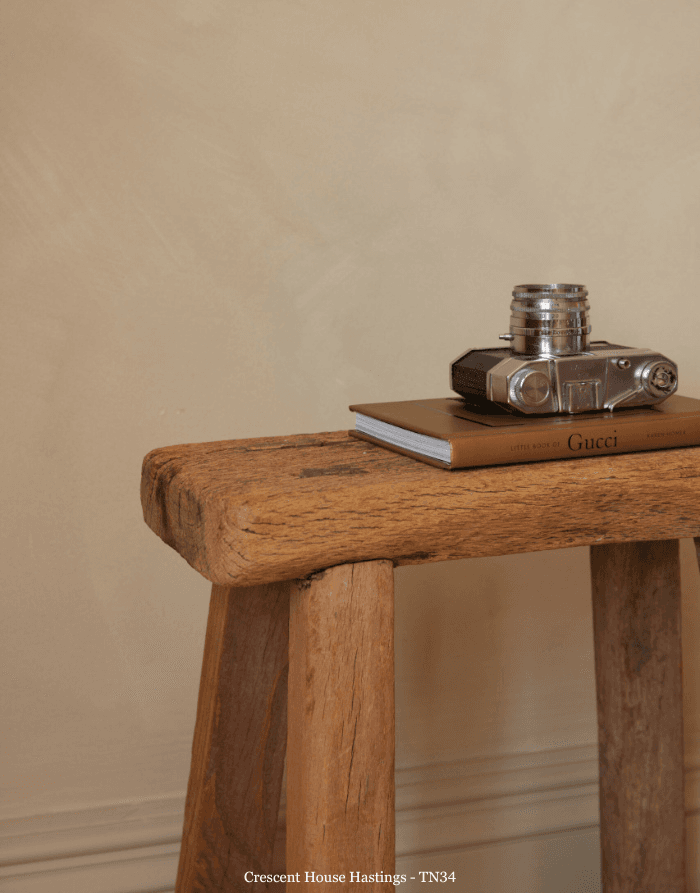
As mentioned previously, textured floors can be a big pull for someone looking to book a location. Potential clients might also be looking for textured wallpaper, concrete walls, pretty kitchen tiling or tongue and groove cladding. If you have interesting details in any areas of your space, don’t overlook how important these can be.
Keep props secondary
While the use of props can be excellent to show the scale of a corner of your home it’s best not to let them take centre stage and instead make sure it’s about the location. By over propping you will pigeon hole your space and not show off the versatility. Additionally, photo teams like to digitally mock up shots by photoshopping their product in the space to see if the space will work – make sure there is space on the surfaces and you can clearly see what is in the background for this purpose. The trick to propping is keeping it minimal and with a very human/accessible touch.
Think about the light
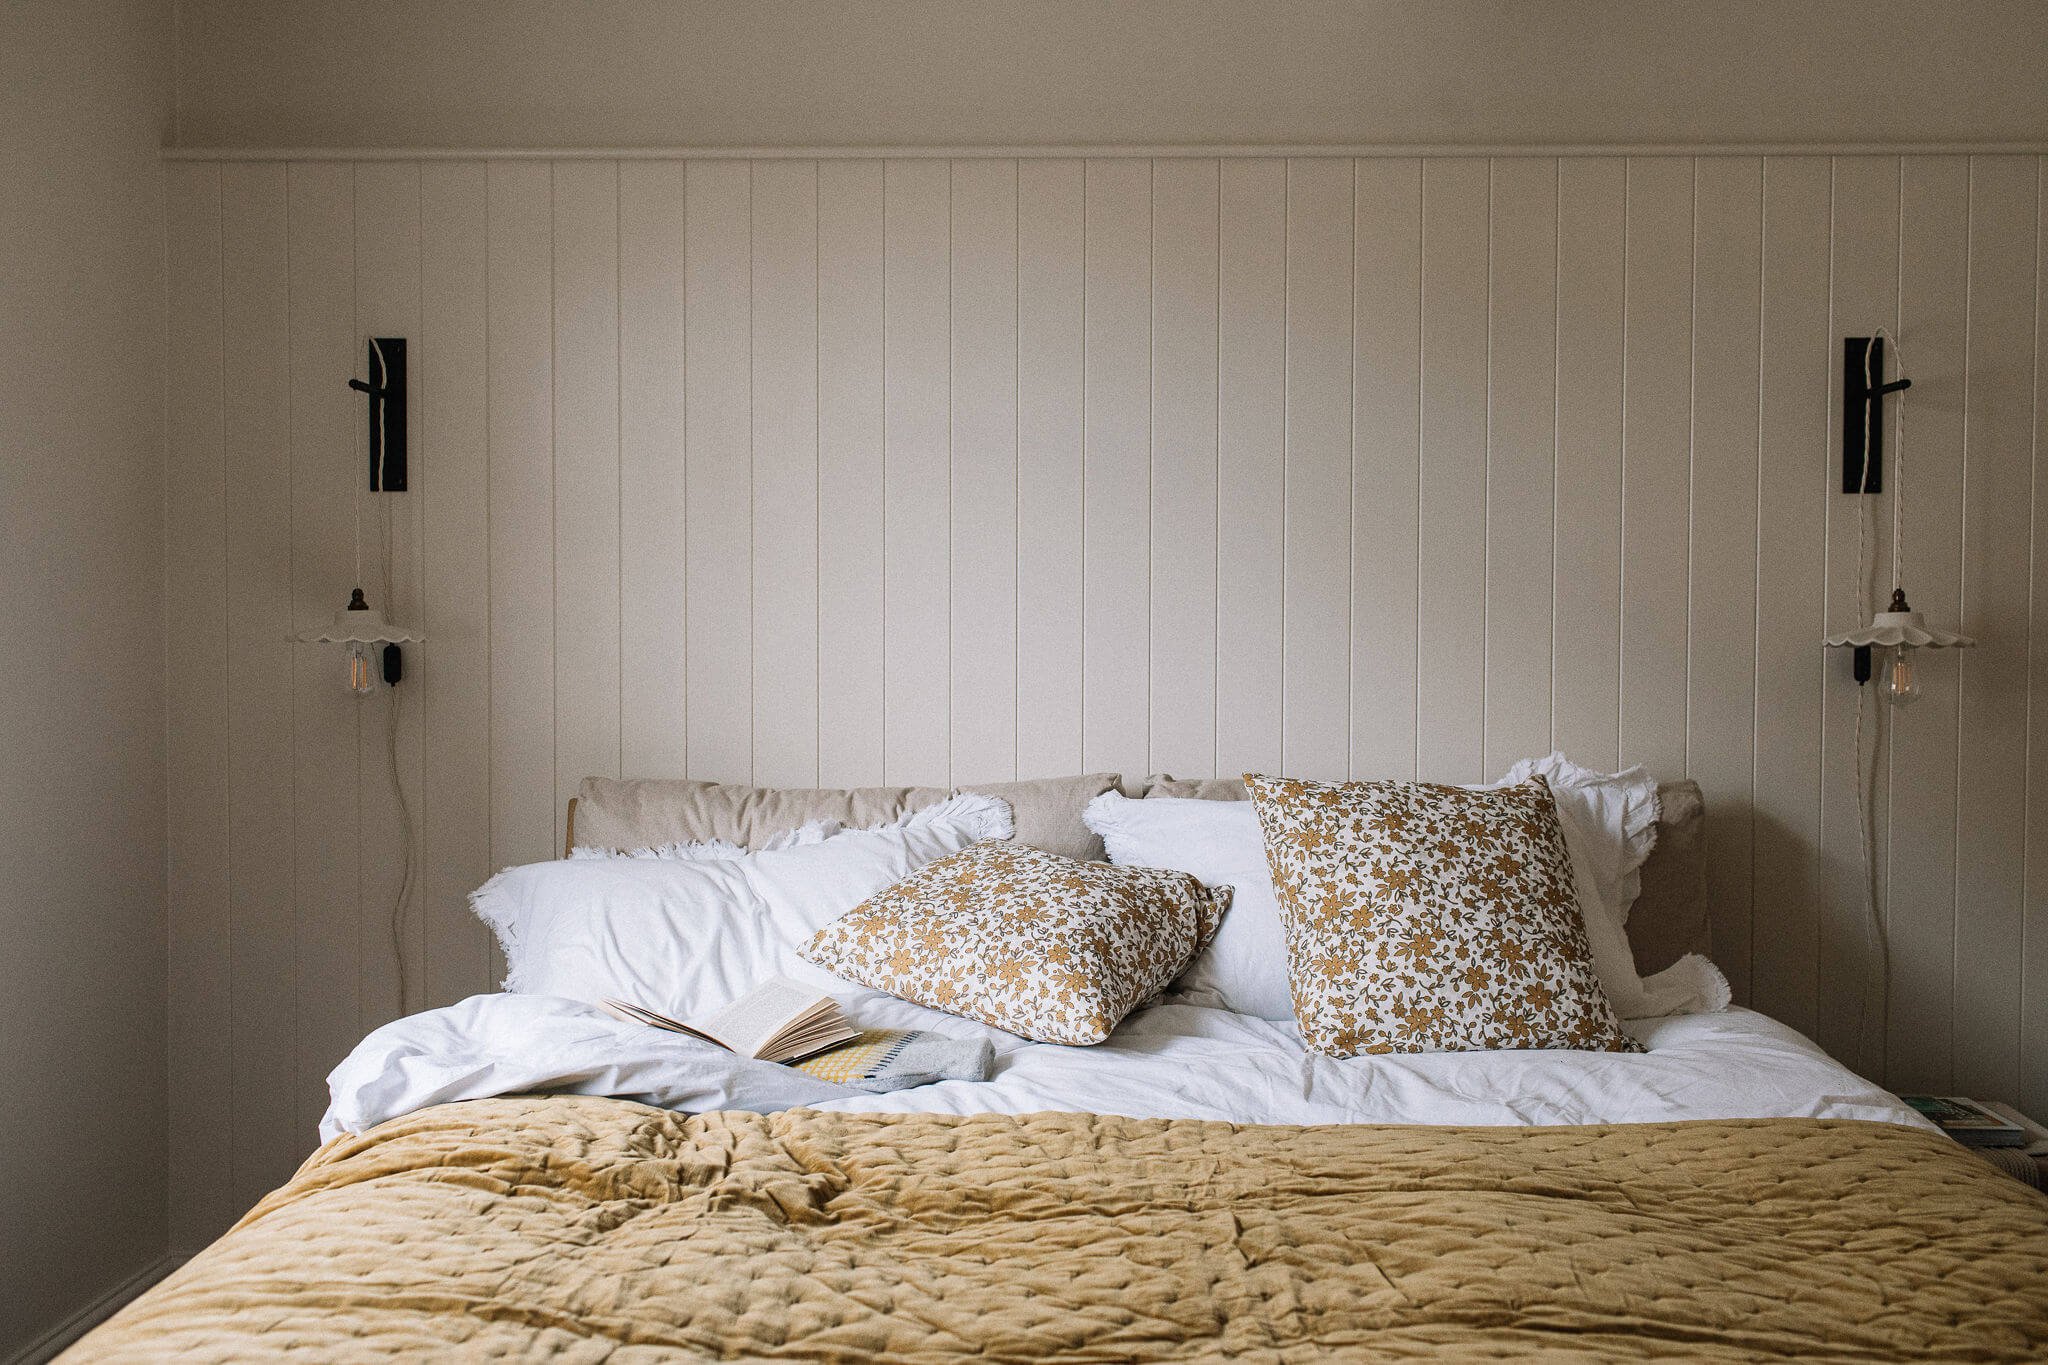
As so much about photography and videography is the light make sure you’re showing off the light in your space as much as possible. Observe what times the light streams in through windows and plan your photos around it. You may be surprised to hear that the best time to shoot your photos is spring or autumn. I particularly like September because everything is still fairly green and lush but the sun sits lower in the sky so shards of magical light stream through windows. Plus if you have any outdoor spaces, like orchards or pretty gardens, you can get gorgeous golden light to show these off.
My number one rule of interior photos is to turn all overhead lights off – they cast ugly shadows and give your photos an orange glow, which can make your space feel dark. Play around with table lamps, floor lamps or picture lights. If there is enough ambient light they can add to a photo and a lot of the time they can have the same effect as an overhead light. If you have lighting features on dimmers play around with dimming the light right down.
Emma is based in the Midlands (but is happy to travel) and has availability over the coming months if you’d like your space photographed. All Images © Emma Croman.
Go to Emma’s website
Follow Emma on Instagram
