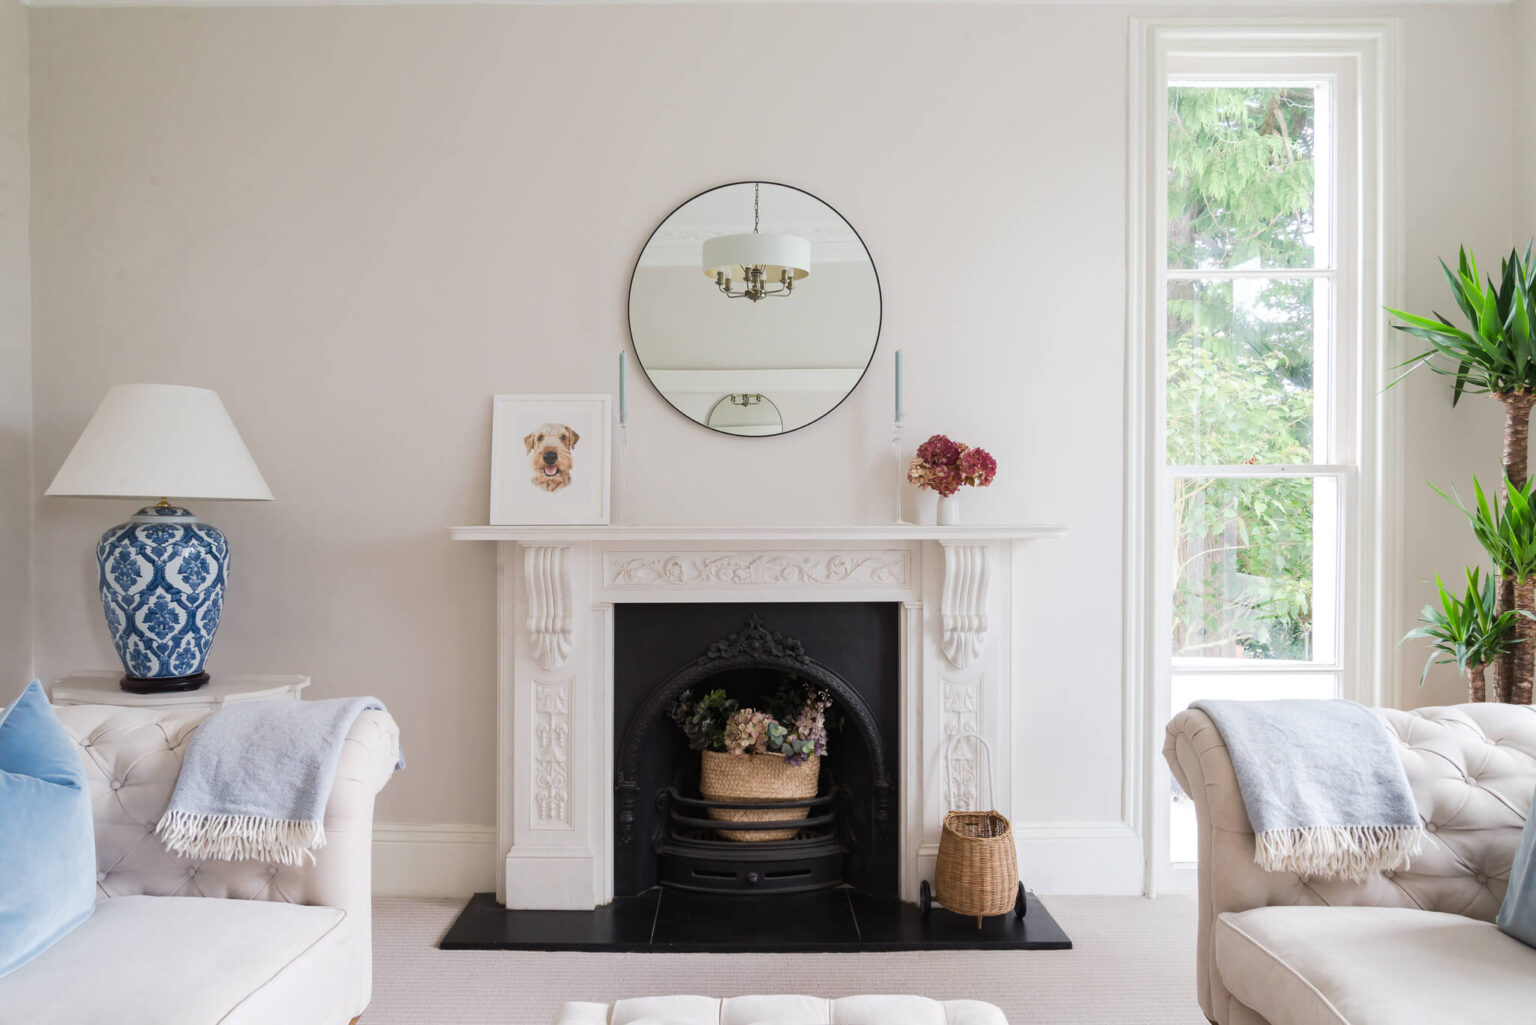
Great photos of your home are an invaluable tool for attracting location bookings and a lot of work goes into professional interior shoots. However, if you are not ready to hire a professional (or you are looking to up your Instagram game) here are some top tips to quickly and easily improve your interior photography.
Use a tripod
A tripod is probably the most important piece of kit when photographing interiors. It reduces camera shake, which helps you photograph in lower light and keeps the camera level. Having your camera/phone on a tripod will help to compose and align your image correctly. If your camera has a grid feature you can use it to check that the lines of the walls, floors and ceilings are straight and that you are taking the shot from a level position that does not give a skewed and awkward perspective. If you don’t have a grid you can do it by eye and make minor adjustments if needed in post production.
Shoot lower than head height
Shots taken at your full height can distort the look of the room and furniture so try shooting at around belly button height (or at the height of the light switches). Shooting lower allows you to balance your perspective as above and get a natural looking view that shows off the room.

Use natural light
Where possible it is best to use natural light when photographing home interiors. You want to let as much light into the room as possible so open the blinds and pull back the curtains. If necessary then a simple off camera flash is often all that is needed. Be sure to turn off ceiling lights as they are likely to affect the colour temperature of the images.
Step back and get more in shot
Adjust your position to get as much of the room into the shot as possible instead of using very wide angle or fisheye lenses (which will give your images an estate agency vibe that is best to avoid). Don’t be afraid to pick out details in separate shots too. Interesting corners, unique furnishings and beautifully styled areas are lovely additional shots, especially for social media.
Stage your space
Have a really good tidy up before you get the camera out and consider what is going to be in shot. Is there anything underneath the sofa that might be visible if you look at it from belly button height for example? Plump up cushions and style the space, removing anything that does not contribute to the look and feel of the room. A good example is the bathroom, hide the bottles of brightly coloured branded shampoo, razor and toothpaste for example.
Beware of filters
Post processing can elevate an image and without doubt the most effective tool in an interior photographer’s arsenal is perspective correction. Avoid altering the colours and be wary of filters as they may adjust colours without your knowledge which would give an inaccurate reflection of your space.
If you’re interested in earning an income by renting out your home for photoshoots and other creative projects why not apply to become a Styled Home Studios host.


